How to Install and Set Up Burp Suite with FoxyProxy
Burp Suite is one of the most popular tools for web application security testing, and FoxyProxy is a handy browser extension that makes switching proxies seamless. In this guide, we will show you how to install Burp Suite, configure it, and use it with FoxyProxy for simplified proxy management. This setup is essential for web security professionals who need to intercept and manipulate web traffic.
Step 1: Install Burp Suite
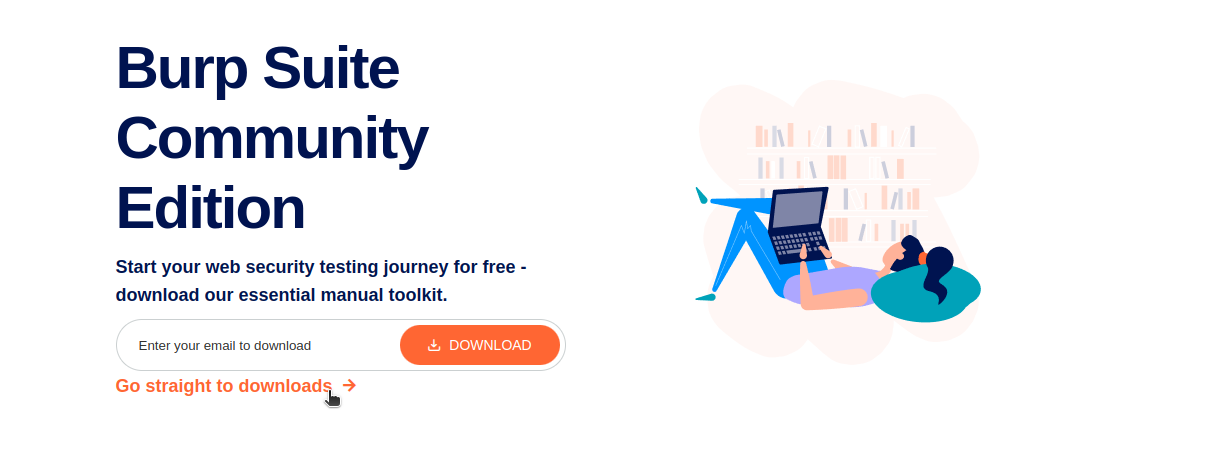
1.1 Download Burp Suite:
Start by visiting the official Burp Suite website to download the tool:
- Go to PortSwigger - Burp Suite and download the latest version of Burp Suite for your operating system (Windows, macOS, or Linux).
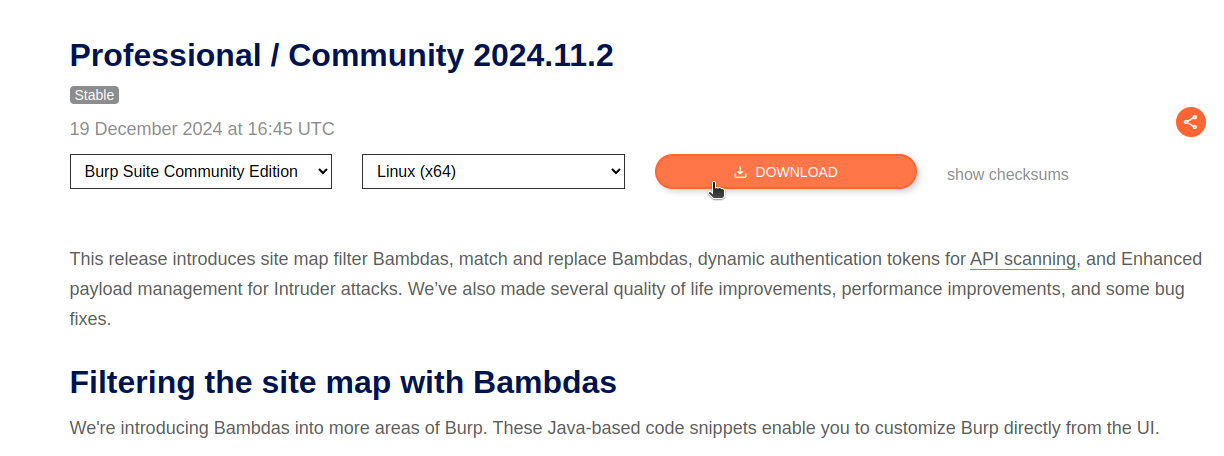
1.2 Install Burp Suite:
Once the download is complete, follow the installation instructions for your OS.
Step 2: Configure Burp Suite Proxy
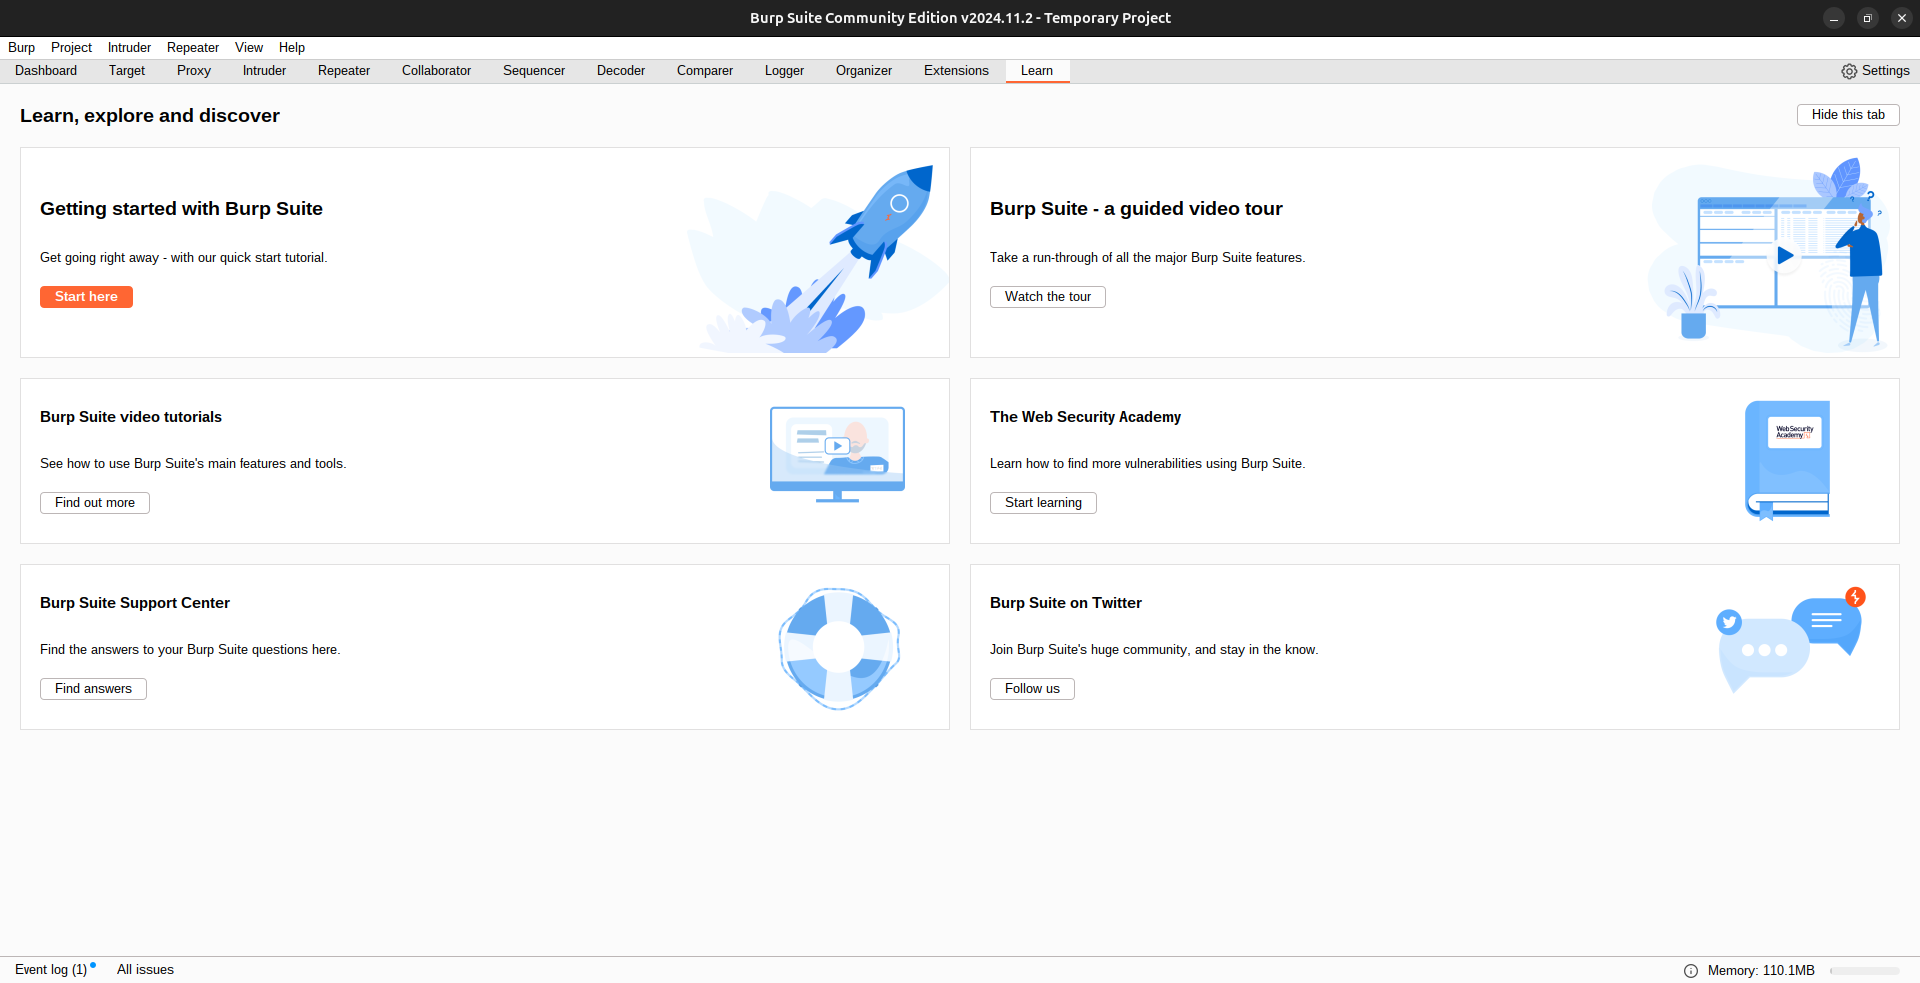
2.1 Launch Burp Suite:
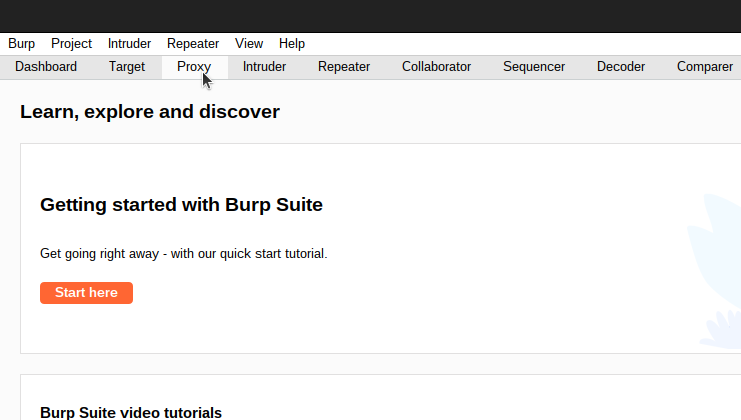
After installation, launch Burp Suite. When it starts, you’ll land on the main dashboard.
2.2 Set Up Proxy Listener:
To configure Burp Suite to intercept your browser traffic, follow these steps:
-
Navigate to the Proxy tab.
-
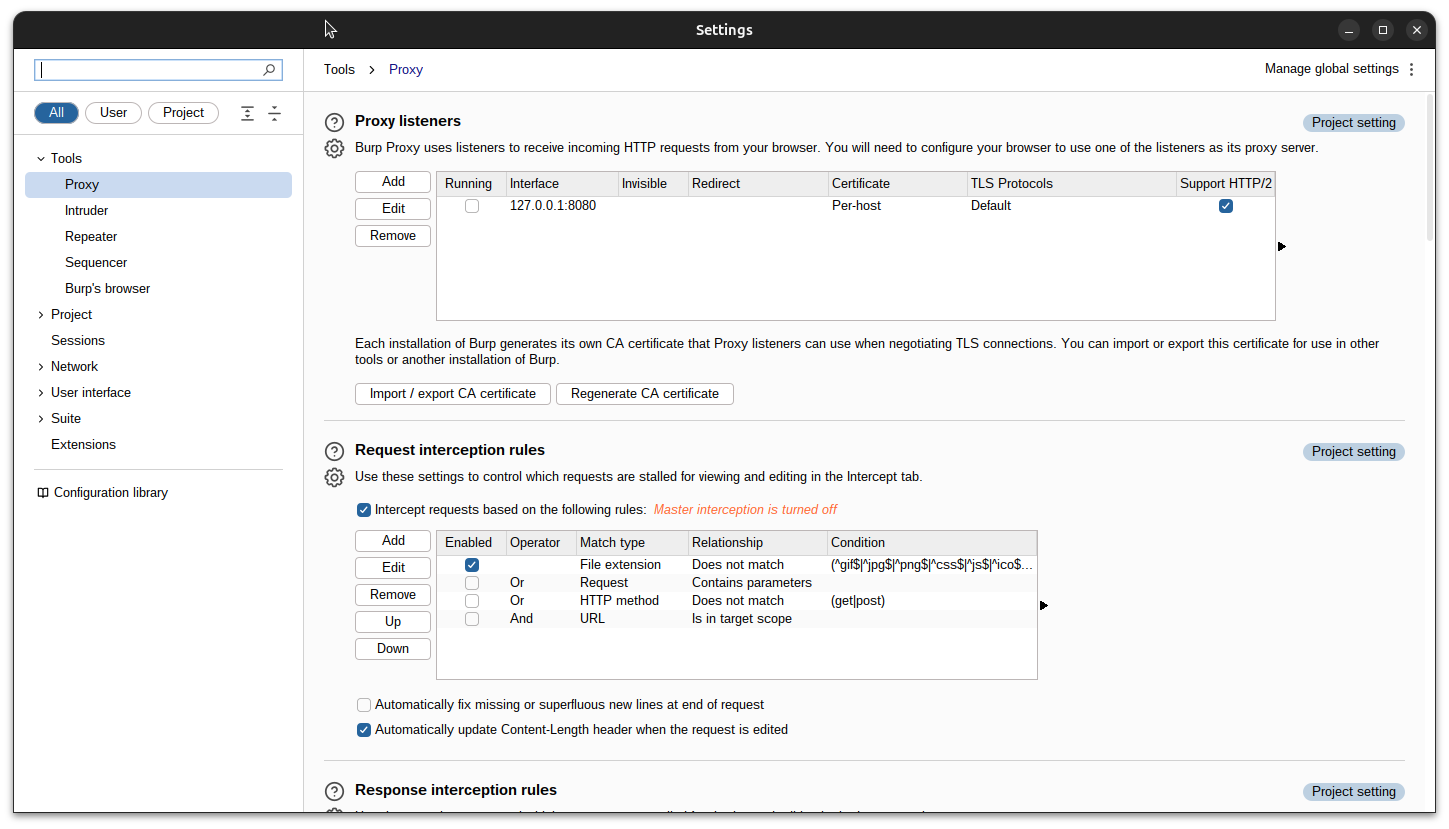
Click on the Proxy Setting sub-tab.
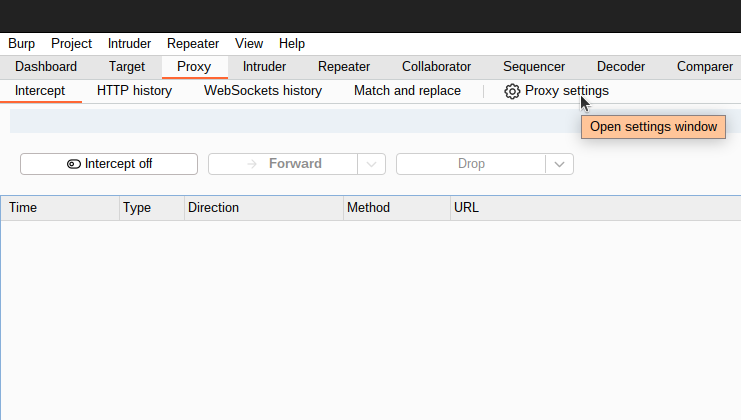
By default, Burp Suite listens on 127.0.0.1:8080. Make sure it’s enabled. If you want to use a different port or IP, you can modify these settings here.
Step 3: Install FoxyProxy Extension
3.1 Install FoxyProxy for Your Browser:
FoxyProxy is available as a browser extension for both Firefox and Chrome. Here’s how to install it:
-
For Firefox: Visit the FoxyProxy Firefox Add-on page and click Add to Firefox.
-
For Chrome: Visit the FoxyProxy Chrome Extension page and click Add to Chrome.
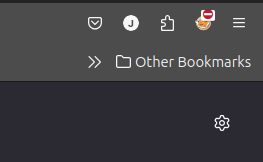
After installation, you should see the FoxyProxy icon in the browser toolbar.
Step 4: Set Up FoxyProxy to Work with Burp Suite
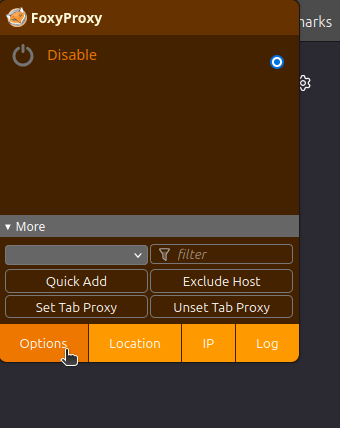
4.1 Open FoxyProxy Settings:
Click the FoxyProxy icon in your browser toolbar and select Options. This will open the FoxyProxy settings page where you can configure your proxy settings.
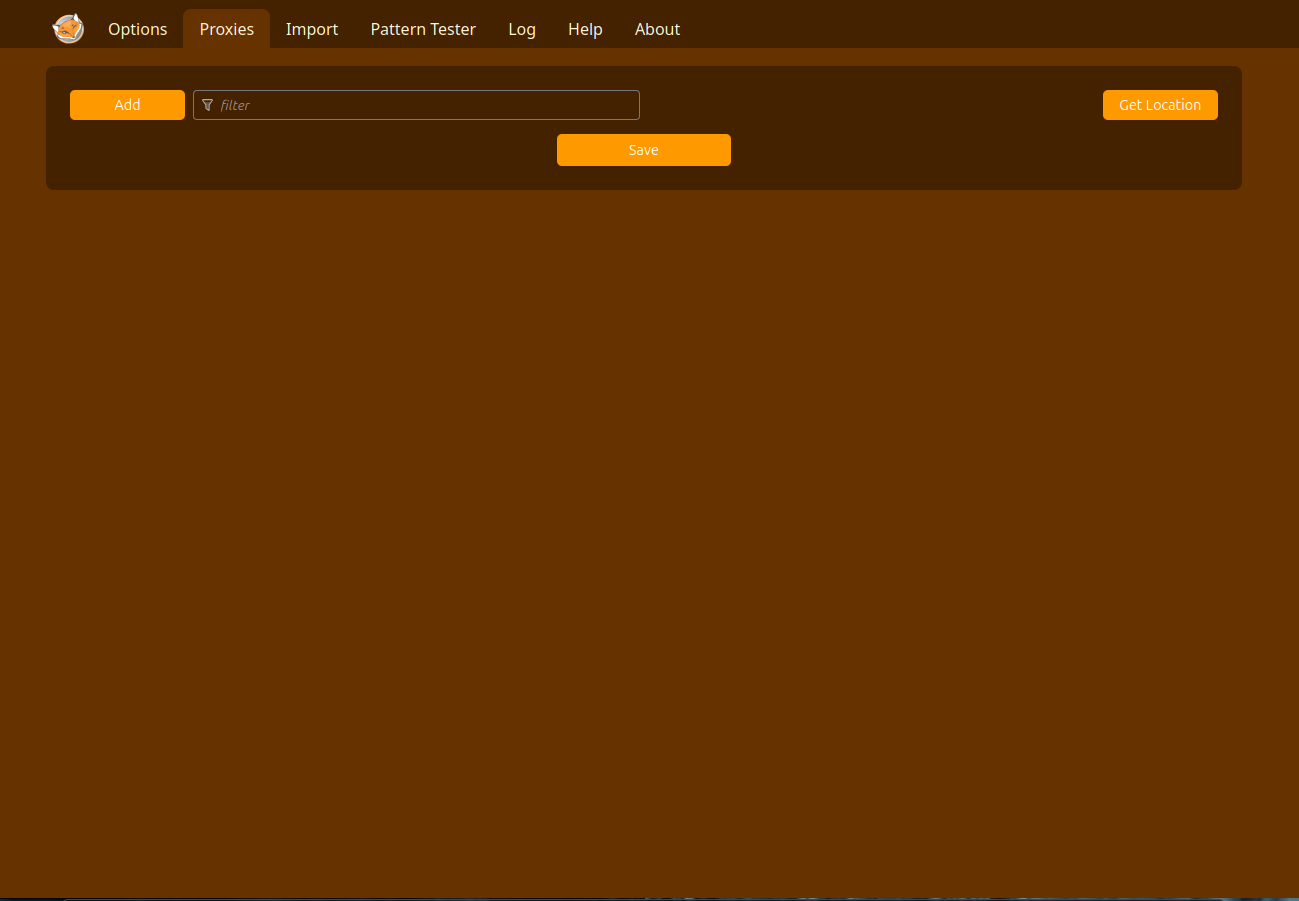
4.2 Add a New Proxy Configuration:
In the FoxyProxy settings, follow these steps:
- Click Add New Proxy.
- Set the proxy type to HTTP.
- Enter the following details:
- Proxy IP Address:
127.0.0.1(Burp Suite’s default IP address). - Port:
8080(Burp Suite’s default port).
- Proxy IP Address:
You can name this configuration as Burp Suite Proxy or anything you prefer.

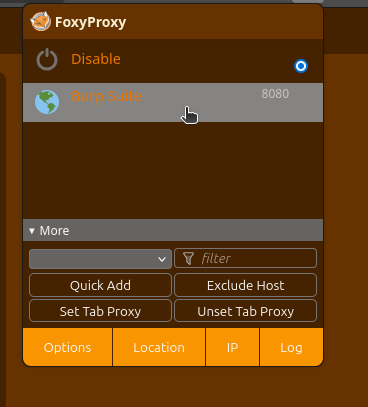
4.3 Enable the Proxy:
Once the proxy is set up, go back to the FoxyProxy toolbar icon. Click on it and select the Burp Suite Proxy configuration you just created. This will route your browser traffic through Burp Suite.
Step 5: Test Your Setup
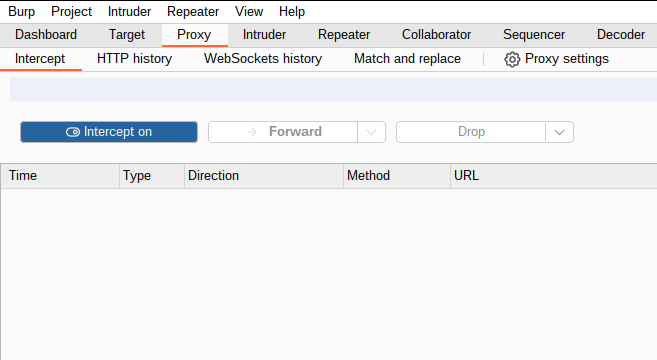
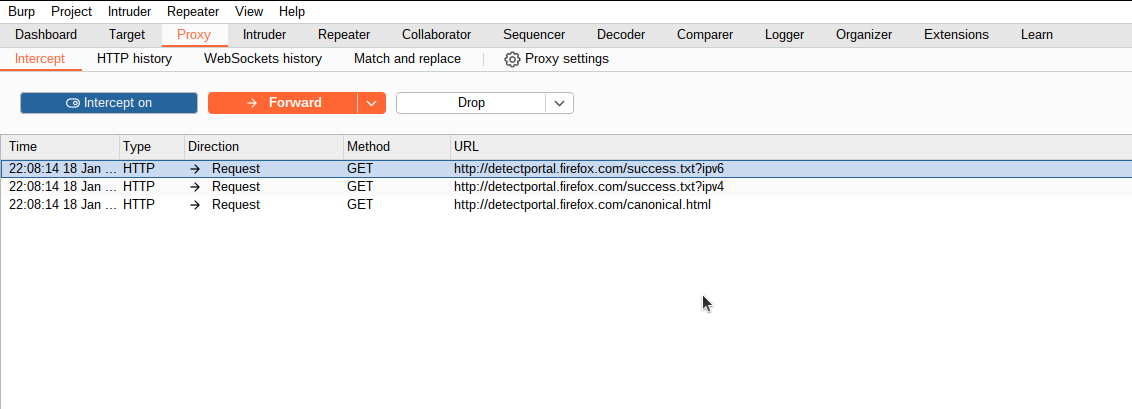
5.1 Start Intercepting in Burp Suite:
In Burp Suite, go to the Proxy tab and make sure Intercept is set to on. This will start intercepting all HTTP/S requests made from your browser.
5.2 Browse a Website:
Open a new tab in your browser and visit any website. You should now see Burp Suite capturing and displaying the requests in the Intercept tab.
Step 6: Optional Tweaks for Better Workflow
6.1 Disable FoxyProxy When Not Needed:
If you don’t need Burp Suite for all your browsing, you can quickly disable FoxyProxy by clicking on the FoxyProxy icon and selecting No Proxy.
6.2 Burp Suite SSL Certificate:
If you’re working with HTTPS sites, you may need to install Burp Suite’s SSL certificate in your browser to avoid SSL errors. To do this:
- Open http://burp in your browser while Burp Suite is running.
- Download and install the Burp CA certificate in your browser to trust the intercepted SSL/TLS connections.